 |
| Andy and his Negroni |
I was really excited when I downloaded the PDF version of the pattern and first read the instructions. There were quite a few new techniques to try in this pattern, such as the sleeve plackets and the double yoke, which I was looking forward to. I also really wanted to finish this pattern in the allotted week time frame that I had given myself, whilst not trying to rush it and ruin it so this was a new challenge for me as well. I quite often get frustrated when clothes take more than double the time to finish then I imagine that they will! Sometimes I wish I could knock up an item a day! All in all this shirt took me two afternoons and three evenings to make (I'm not sure how many hours!).
 |
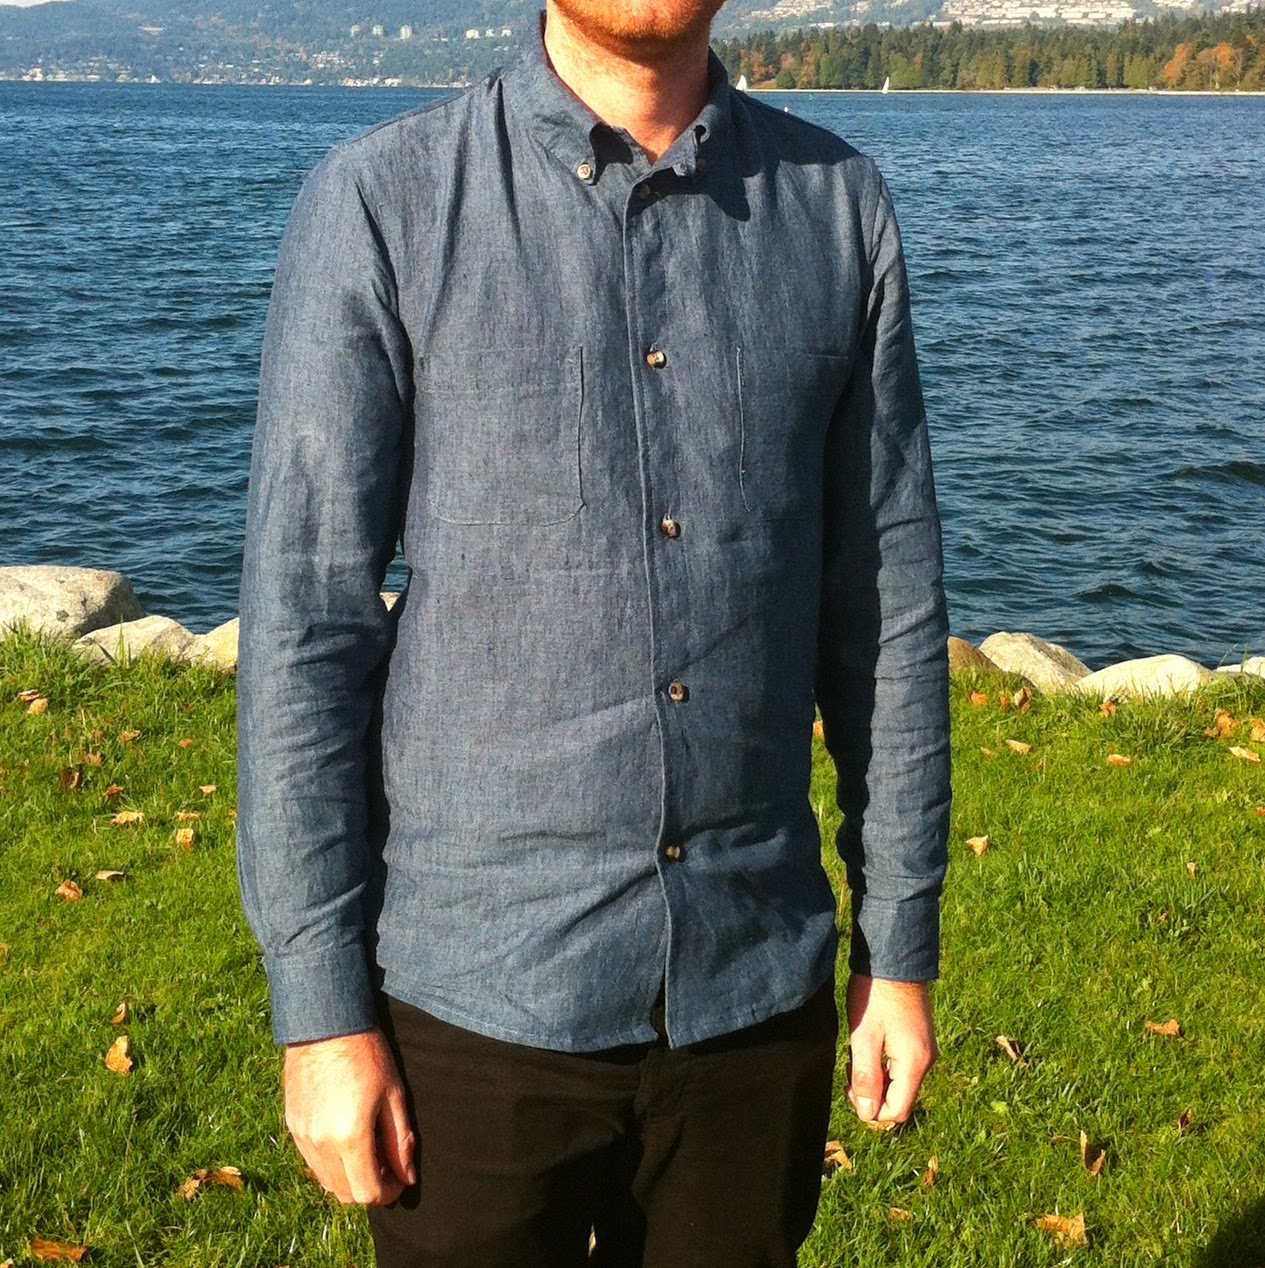
| Blue linen Negroni with button-down collar |
I made Andy a small, which is almost the perfect size without any alterations. The only place where it is a bit snug, I am told, is under the arms, but other than that the fit is pretty much the same as all of Andy's other shirts. Yay for not much alteration!
 |
| Negroni back (with creases!) |
Sewing the sleeves was a bit more stressful as this fabric doesn't have a right or wrong side - they are exactly the same. I sewed one of the sleeve plackets on the wrong side so I had to start again with one side which meant that the shirt took me an extra evening to make. But this was the only real issue that I had with the whole shirt, and I think that this just wouldn't happen if I had used a different fabric, but I have also learnt my lesson for next time!
 |
| Negroni with button-down collar |
 |
| Colette Negroni |
These photos were taken today in Vanier Park in Vancouver. It's been a gorgeous crispy Fall day. It has been a bit chilly, which explains the creased shirt as it was under Andy's coat, but lovely and sunny. I love this area of Vancouver as you can see the mountains, sea and city - what more could we need?

Love the button down collar - Will definitely have to try it!
ReplyDelete