Pages

Sunday 16 November 2014

The Colette Cooper Bag!

alt="Colette Cooper Cotton+Steel Mustang"
My Colette Cooper bag.

As soon as I saw the Cotton + Steel Mustang Collection by Melody Miller, I knew that I wanted to make the Colette Cooper bag with the minty-ish cotton canvas arrows. I even ordered the fabric from the US as they didn't have this particular print in at my local fabric shop. 

alt="Colette Cooper Cotton+Steel Mustang"
Minty arrowy goodness.
I REALLY enjoyed making this bag. It was nice to make something where I didn't have to worry about making lots of adjustments to fit me, as well as it being just for me too. When I was buying the PDF of the pattern, I also bought a copy of The Cooper Companion as I knew that it would be helpful, but I am also quite interested in developing my bag making skills. I was definitely right with this one. The guide is so useful, and the photos that take you through every stage of each version of the bag are really informative. The instructions that come with the pattern are great, but I found it much easier to follow the photographs in the companion than the illustrations in the instructions. I think seeing the scale of each part compared to the others is what made the difference. 

I made Version 3 of the bag, the two-handled satchel, as I didn't want loads of straps. However, I don't have a pannier rack on my bike (and don't think I ever will have one really!), so I stitched the back strap onto the main fabric for extra strength.

alt="Colette Cooper Cotton+Steel Mustang"
Colette Cooper back with attached strap.
The only frustrating and long part of making the bag was actually cutting out the fabric. As there are three fabrics (main, contrast and lining), it took quite a while. I used the cotton canvas as the contrast fabric, some C+S cotton supreme in Goldilocks as the main fabric and a purple canvas that I bought from Dressew for the lining, as I wanted to give the bag a bit of thickness. If I was making the bag again, I would use something a lot thicker for the main fabric, or the handles at least, as it does feel a bit flimsy.

Below you can see the purple canvas, the internal pockets, and I added some pictures of the bag in use, in both the internal and external sense. 

alt="Colette Cooper"
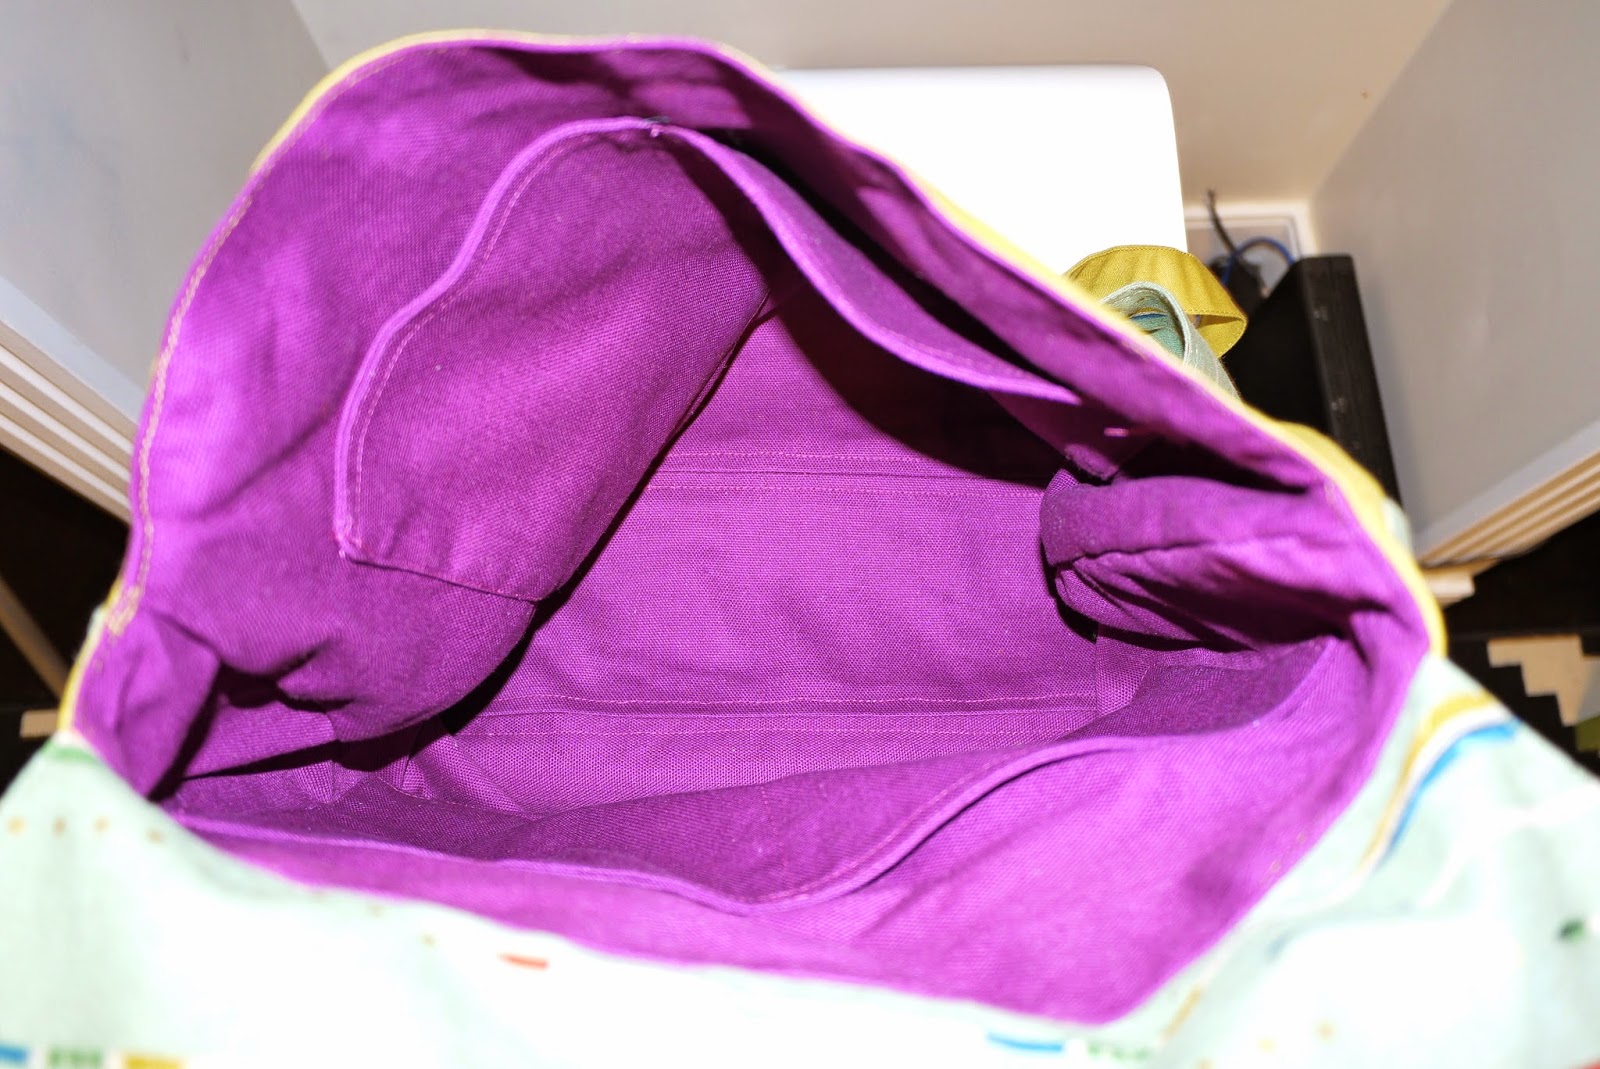
Purple canvas lining.
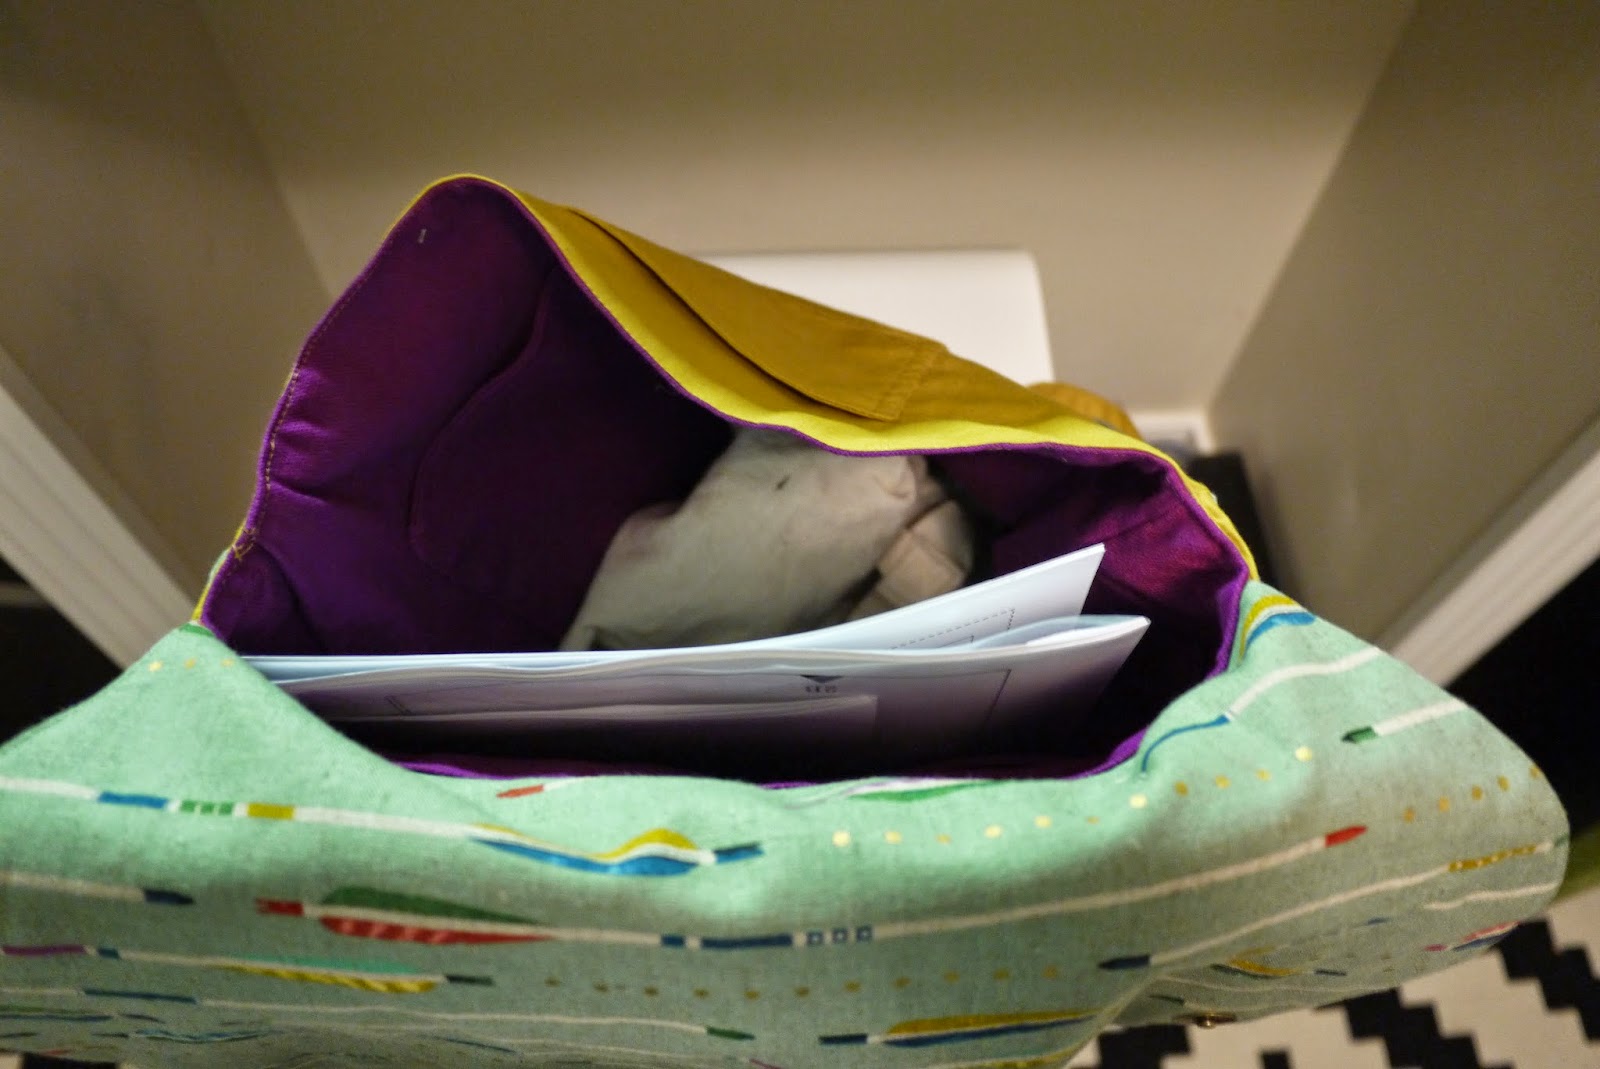
Bag in use (and a sneak peak of my next project - another Colette PDF!).
alt="Colette Cooper Cotton+Steel Mustang"
Posing with my full bag!
I actually finished this bag last week as I had intended to use it on our trip over the long weekend to Calgary, Banff & Lake Louise. But Air Canada now charge for baggage so I used a bigger backpack instead to avoid that charge and pack my winter warmers in. We arrived just in time for a bit of a mega snow storm so saw some very dramatic scenery. It's definitely the coldest I have ever been (-15!) - we never get those kind of lows, or as much snow, in the UK!
The view from the Banff Gondola.
Snow and that.
A snowy and slightly blue Lake Louise.

Saturday 1 November 2014

A Negroni for Andy

alt="Colette Negroni"
Andy and his Negroni
Ever since I first discovered Colette Patterns I have wanted to make Andy a Negroni shirt. However, I was always a little unsure if he would like it, and I also wasn't sure if I wanted to put so much effort into making something that he might not even wear! 

I was really excited when I downloaded the PDF version of the pattern and first read the instructions. There were quite a few new techniques to try in this pattern, such as the sleeve plackets and the double yoke, which I was looking forward to. I also really wanted to finish this pattern in the allotted week time frame that I had given myself, whilst not trying to rush it and ruin it so this was a new challenge for me as well. I quite often get frustrated when clothes take more than double the time to finish then I imagine that they will! Sometimes I wish I could knock up an item a day! All in all this shirt took me two afternoons and three evenings to make (I'm not sure how many hours!).


alt="Colette Negroni"
Blue linen Negroni with button-down collar
For the fabric, we braved Dressew in the run-up to Halloween (which was a bit of a nightmare, even for me!) and Andy picked out the blue linen fabric. He now has about six blue shirts, but this was obviously a good sign as it means he likes them! I know the number as I spent many minutes examining how each of them was made as research. 

I made Andy a small, which is almost the perfect size without any alterations. The only place where it is a bit snug, I am told, is under the arms, but other than that the fit is pretty much the same as all of Andy's other shirts. Yay for not much alteration!


alt="Colette Negroni"
Negroni back (with creases!)
The instructions for the Negroni are brilliant, and the only place that I had a bit of doubt was when sewing the two yokes together. I had to ask Andy to come and read the instructions to ensure that I was about to sew it together correctly, and afterwards I was just mesmerized at how it worked. 

Sewing the sleeves was a bit more stressful as this fabric doesn't have a right or wrong side - they are exactly the same. I sewed one of the sleeve plackets on the wrong side so I had to start again with one side which meant that the shirt took me an extra evening to make. But this was the only real issue that I had with the whole shirt, and I think that this just wouldn't happen if I had used a different fabric, but I have also learnt my lesson for next time! 


alt="Colette Negroni"
Negroni with button-down collar
I used some buttons from an old shirt that Andy had decided to retire after wearing pretty much once a week since we left the UK. I think that they go with the fabric really well. Andy requested a button-down collar, and I think that it looks really good. I'd already made the button loop and sewn it in, but I think that it just looks like an extra little feature. I'd probably leave this out next time and just put in an additional button hole at the top. 


alt="Colette Negroni"
Colette Negroni
All in all, I would say that this project was a success and I will definitely make the shirt again. And Andy is actually wearing it so that is a bonus. It's made me want to make myself a shirt using some of the techniques that I've learnt, and I've already got my eye on this Grainline Studio button up shirt and/or this Pattern Runway Pussy Bow Blouse - just need to keep my out for the perfect fabric. 

These photos were taken today in Vanier Park in Vancouver. It's been a gorgeous crispy Fall day. It has been a bit chilly, which explains the creased shirt as it was under Andy's coat, but lovely and sunny. I love this area of Vancouver as you can see the mountains, sea and city - what more could we need?