Pages

Sunday 28 December 2014

Christmas Holiday Quilt

Quilt for the Seaside!
Does anyone ever really regret starting a patchwork quilt when they are half way through and it seems like it will just keep going? Whenever I make a quilt (and I've made loads of them for some reason!). I always swear that I will never bother to make another one ever again and yet here I was struggling through another one...

My chosen Cotton+Steel fabrics.
I started making this when my mum and dad were visiting us in September. I bought the beautiful fabric as soon as the first Cotton+Steel range was available to buy online and knew that they would become a quilt of some sort. I used Stars in Mustard (Mustang), Metallic Arrows in Coral (Mustang), Tacks in Teal (Homebody), and all of these from the C+S Basics Range: XOXO in On The Rocks, Netorious in Plummy and Dottie in Jean Jacket.

I looked at loads of patterns and decided to add some white in and do something a bit different as a of the quilts that I had made previously have been using just square or rectangle blocks (apart from my first one!). I used the Flying Geese block technique from this quilt on the Purl Bee. I was a bit upset with myself for chopping the lovely colourful fabric into such small pieces but I really like the result now! 

Lots of pieces!
The longest part of the construction was putting together all of the pieces. I kept getting distracted by other projects, such as nice dresses and Christmas presents. So I had to set myself a deadline, which was to have this ready to take with us on our Christmas holiday, hence the name of the quilt. 

My design laid out on the living room floor.
After spending a good hour mulling over the sequence of the pieces, it actually didn't take me too long to pull this baby together. I took inspiration from the flip and sew method that I saw ages ago on Pinterest, and sewed each column onto the back fabric and wadding individually which helped bring it all together. I then stitched in the ditch along every other row to make it a bit quilty and get the square pattern on the back. I used some of the leftover backing fabric to bind the quilt, and stitched it to the back by hand. I wanted it to look really nice, and I have got so frustrated with binding in the past that I thought that this would be worth a shot. I managed to (almost) get all of the hand part done in the time that it takes to watch Love Actually!

Quilty squares on the back of the quilt.
Despite my lack of love of this quilt during the process, I am now loving it. I've already spilt tea and crumbs all over it, which I take to mean a symbol of true affection! And I'm already planning my next quilt... 

The finished article.
We had a lovely time away over the Christmas break in Newport, Oregon. We went to the Aquarium, had some lovely walks along the beach, ate lots of tasty food and had some very nice local beer and wine. The view from our cabin, which we found on Airbnb, was amazing and we went to sleep to the sound of the ocean (and sometimes rain) each night. Here's a couple of snaps from my Instagram feed:

How cute is the sea otter having a post lunch nap?

Moody sunset
Newport Bridge


Thursday 4 December 2014

A Spotty Dahlia

alt="Colette Dahlia"
My first Colette Dahlia.
I've just finished first Dahlia (I say that because this will be the first of many, I'm sure) and it was the first time that I have ever followed a Sewalong, which I really liked and will definitely do again. This was because I spread out the making of the dress over two weeks which meant that I didn't rush, and that I had time to correct things or make slight adjustments without worrying that it was taking me too long. I also had time to make some other gifty things in between as Christmas is quickly approaching. 

I made two muslins to test the size before I cut into my main fabric. As I have a larger waist in proportion to the rest of my body, I initially graded from a 16 to a 12 both up and down. I found that this was way too loose so I made a size 14 waist on my second attempt. I did a small shoulder adjustment, taking an inch out - Devon's instructions for this were really clear and helpful. As well as this, I narrowed the front and back by about half an inch, so that the neckline didn't gape too much. The fabric is a charcoal and white polka dot fabric from Telio, which I bought at Spool of Thread. I forgot to look at the label to see exactly what it was but it's part stretchy, part not and quite thick. I will have to find out... 

alt="Colette Dahlia"
Shoulder Pleat on the Colette Dahlia.
Once I'd sewn the dress together and gathered the neckline, I still felt that it was too wide for me. So I made these little pleats at the top of the shoulder before I attached the binding round the edge. It gives the neckline a bit of a pointy shape but I quite like it now. 

alt="Colette Dahlia"
Colette Dahlia neckline.
The Sewalong was so clear and I will definitely follow one again. As I said above, it was really nice to take my time. Even when it came to the hem, I thought what the heck, and decided to sew it by hand. The fabric that I chose was quite thick so I didn't want to look quilty at the bottom. And I also thought, well I've spent this much time putting the dress together, why not spend another 30 minutes sewing up the hem?! Here is me celebrating finishing the dress:

alt="Colette Dahlia"
Yay, I finished!
I wore the dress to work the next day and got lots of compliments but unfortunately I didn't have enough time to take any photos of me in it during the short daylight hours that we're having. 

We've been having some amazingly clear but cold days recently so over the weekend when I was doing my muslins we went for a walk around the seawall at Stanley Park to see the sunset which was beautiful. 
Seawall Sunset.
I'll do a post about the Christmas gifts that I have made at another point when the receivers have received them - I wouldn't want to spoil their surprises! But one of the things that I've made is this Advent Calendar that I saw on Pinterest for Andy and his sweet tooth. I got so much satisfaction out of this that I don't need any chocolate, but he is being good and sharing with me anyway!

An Advent Calendar for Andy!

Sunday 16 November 2014

The Colette Cooper Bag!

alt="Colette Cooper Cotton+Steel Mustang"
My Colette Cooper bag.

As soon as I saw the Cotton + Steel Mustang Collection by Melody Miller, I knew that I wanted to make the Colette Cooper bag with the minty-ish cotton canvas arrows. I even ordered the fabric from the US as they didn't have this particular print in at my local fabric shop. 

alt="Colette Cooper Cotton+Steel Mustang"
Minty arrowy goodness.
I REALLY enjoyed making this bag. It was nice to make something where I didn't have to worry about making lots of adjustments to fit me, as well as it being just for me too. When I was buying the PDF of the pattern, I also bought a copy of The Cooper Companion as I knew that it would be helpful, but I am also quite interested in developing my bag making skills. I was definitely right with this one. The guide is so useful, and the photos that take you through every stage of each version of the bag are really informative. The instructions that come with the pattern are great, but I found it much easier to follow the photographs in the companion than the illustrations in the instructions. I think seeing the scale of each part compared to the others is what made the difference. 

I made Version 3 of the bag, the two-handled satchel, as I didn't want loads of straps. However, I don't have a pannier rack on my bike (and don't think I ever will have one really!), so I stitched the back strap onto the main fabric for extra strength.

alt="Colette Cooper Cotton+Steel Mustang"
Colette Cooper back with attached strap.
The only frustrating and long part of making the bag was actually cutting out the fabric. As there are three fabrics (main, contrast and lining), it took quite a while. I used the cotton canvas as the contrast fabric, some C+S cotton supreme in Goldilocks as the main fabric and a purple canvas that I bought from Dressew for the lining, as I wanted to give the bag a bit of thickness. If I was making the bag again, I would use something a lot thicker for the main fabric, or the handles at least, as it does feel a bit flimsy.

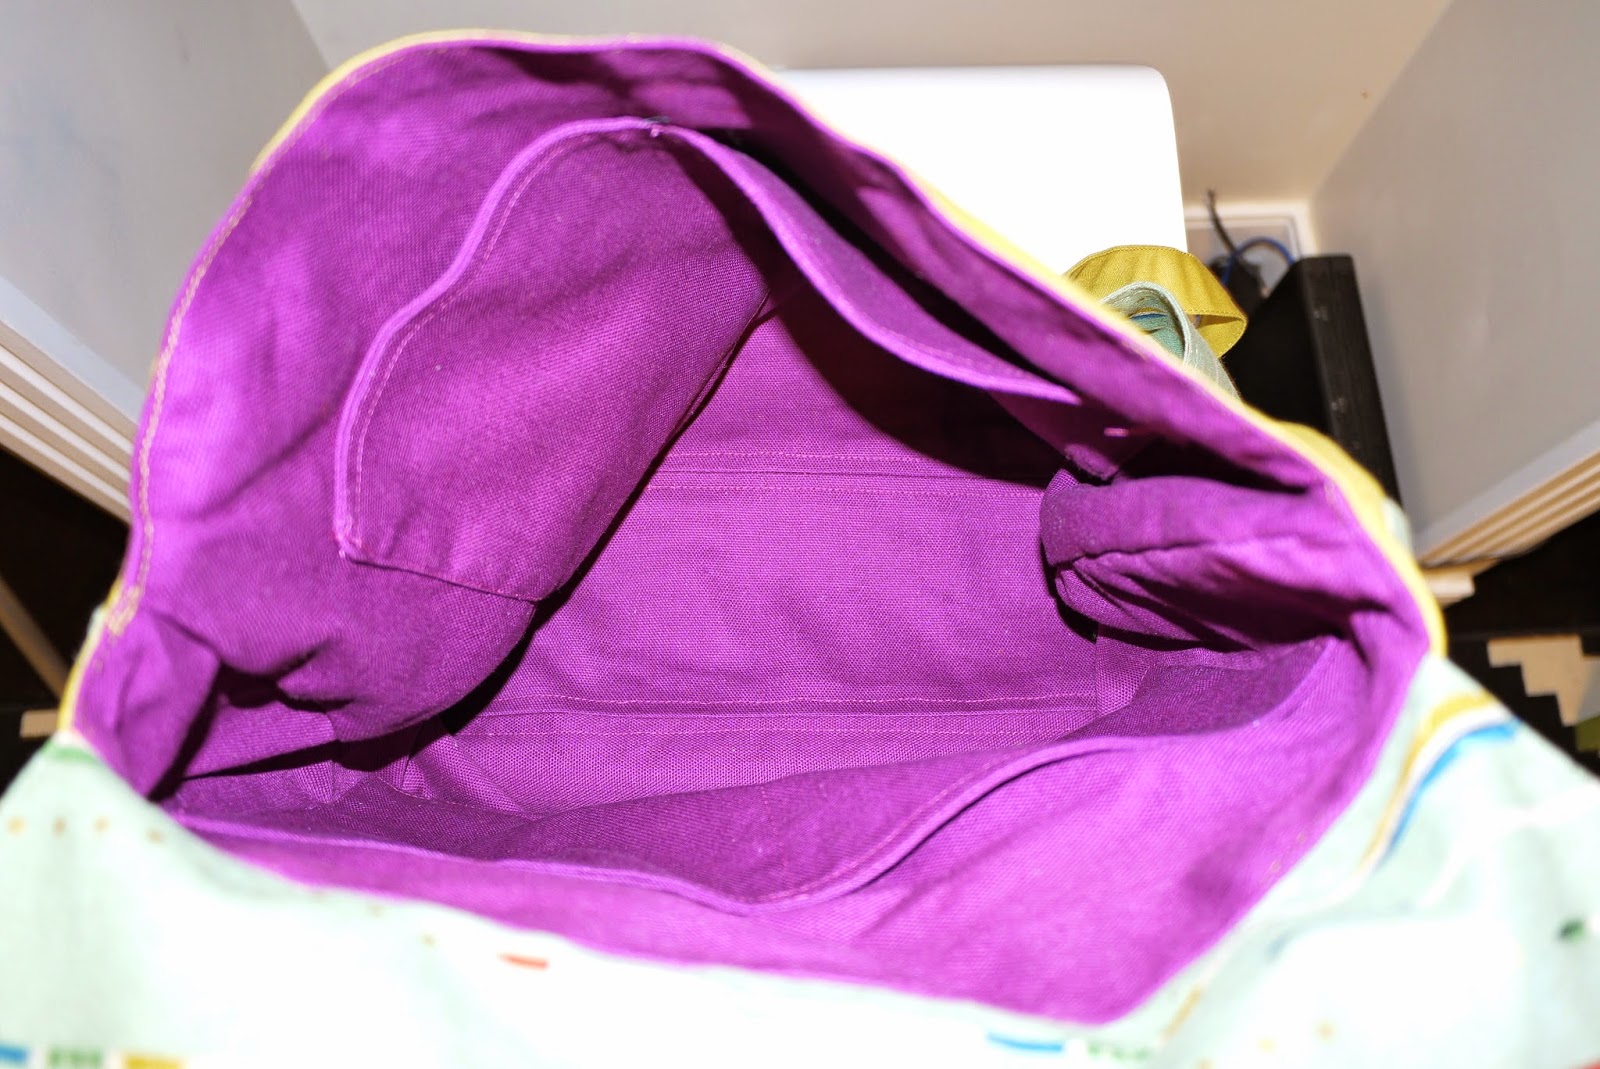
Below you can see the purple canvas, the internal pockets, and I added some pictures of the bag in use, in both the internal and external sense. 

alt="Colette Cooper"
Purple canvas lining.
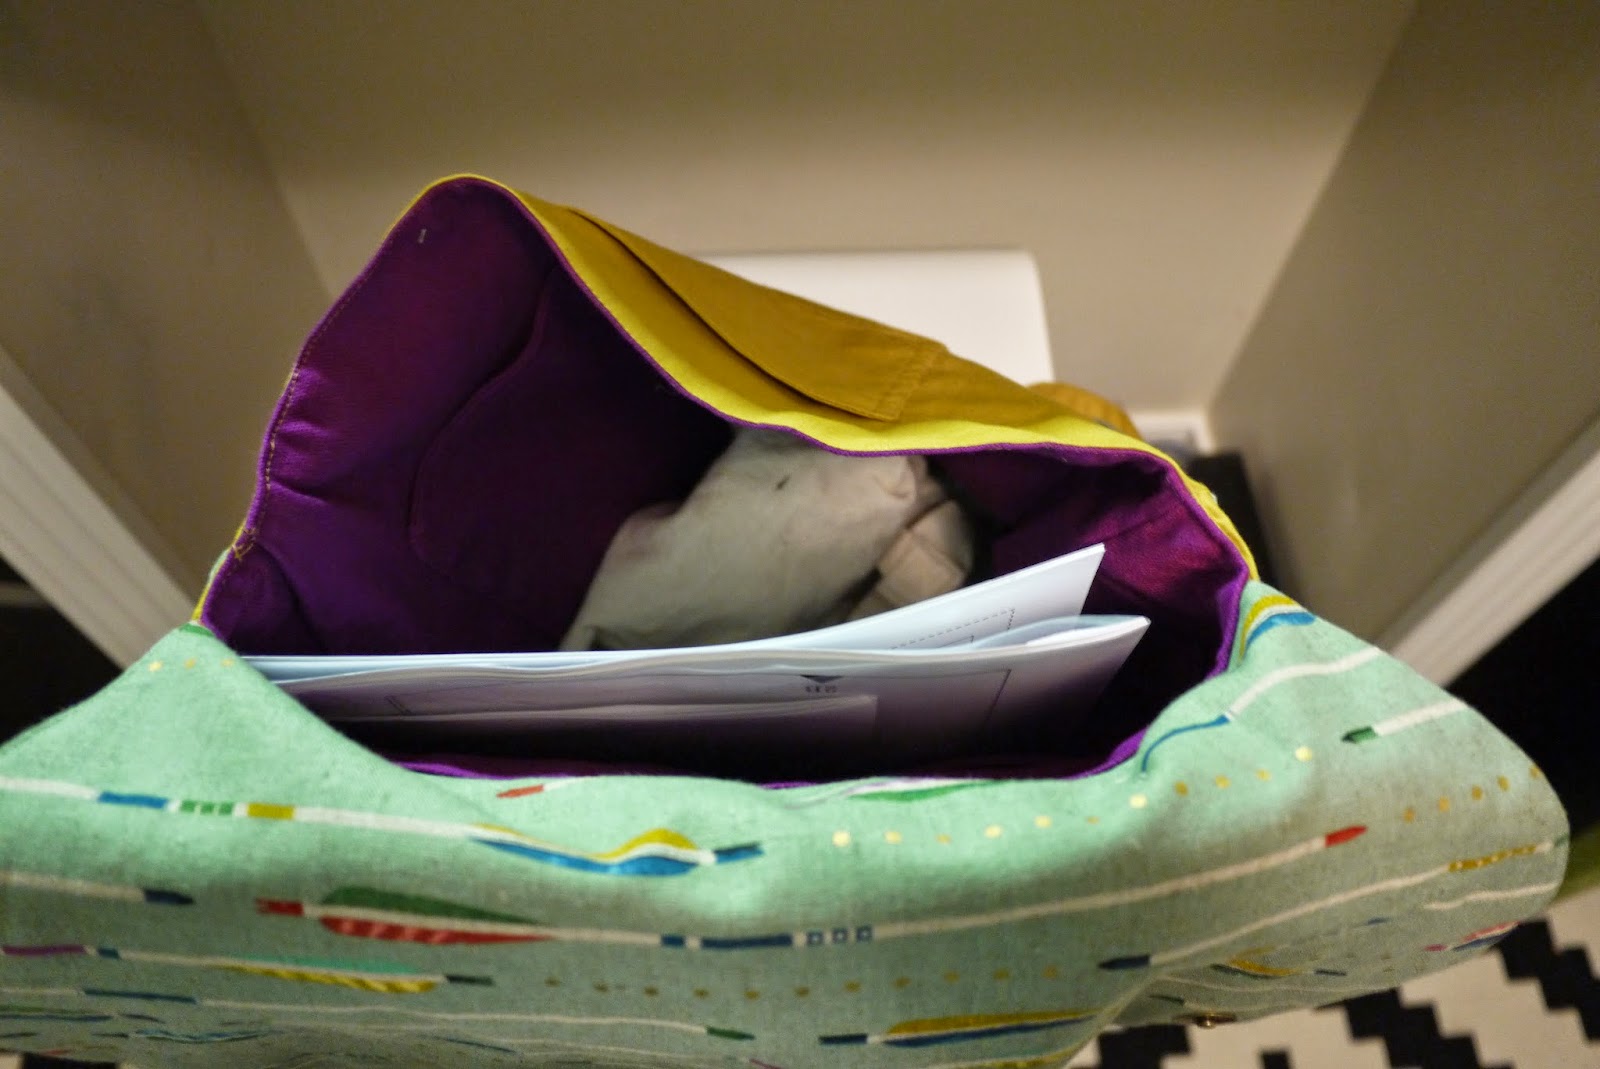
Bag in use (and a sneak peak of my next project - another Colette PDF!).
alt="Colette Cooper Cotton+Steel Mustang"
Posing with my full bag!
I actually finished this bag last week as I had intended to use it on our trip over the long weekend to Calgary, Banff & Lake Louise. But Air Canada now charge for baggage so I used a bigger backpack instead to avoid that charge and pack my winter warmers in. We arrived just in time for a bit of a mega snow storm so saw some very dramatic scenery. It's definitely the coldest I have ever been (-15!) - we never get those kind of lows, or as much snow, in the UK!
The view from the Banff Gondola.
Snow and that.
A snowy and slightly blue Lake Louise.

Saturday 1 November 2014

A Negroni for Andy

alt="Colette Negroni"
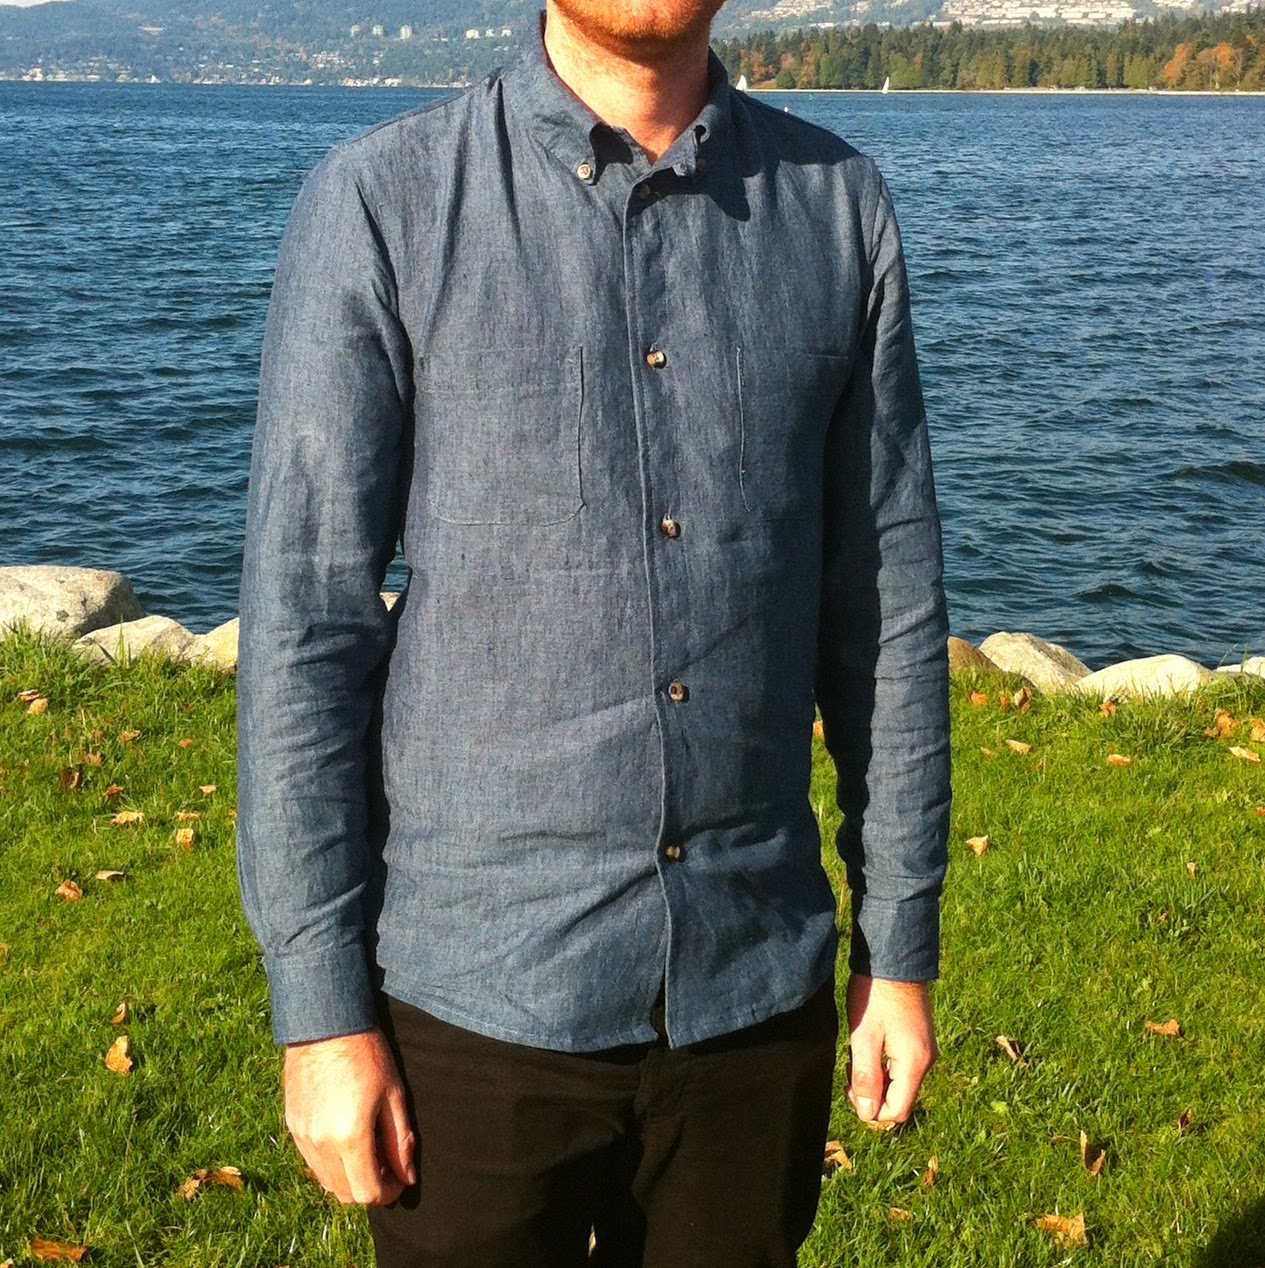
Andy and his Negroni
Ever since I first discovered Colette Patterns I have wanted to make Andy a Negroni shirt. However, I was always a little unsure if he would like it, and I also wasn't sure if I wanted to put so much effort into making something that he might not even wear! 

I was really excited when I downloaded the PDF version of the pattern and first read the instructions. There were quite a few new techniques to try in this pattern, such as the sleeve plackets and the double yoke, which I was looking forward to. I also really wanted to finish this pattern in the allotted week time frame that I had given myself, whilst not trying to rush it and ruin it so this was a new challenge for me as well. I quite often get frustrated when clothes take more than double the time to finish then I imagine that they will! Sometimes I wish I could knock up an item a day! All in all this shirt took me two afternoons and three evenings to make (I'm not sure how many hours!).


alt="Colette Negroni"
Blue linen Negroni with button-down collar
For the fabric, we braved Dressew in the run-up to Halloween (which was a bit of a nightmare, even for me!) and Andy picked out the blue linen fabric. He now has about six blue shirts, but this was obviously a good sign as it means he likes them! I know the number as I spent many minutes examining how each of them was made as research. 

I made Andy a small, which is almost the perfect size without any alterations. The only place where it is a bit snug, I am told, is under the arms, but other than that the fit is pretty much the same as all of Andy's other shirts. Yay for not much alteration!


alt="Colette Negroni"
Negroni back (with creases!)
The instructions for the Negroni are brilliant, and the only place that I had a bit of doubt was when sewing the two yokes together. I had to ask Andy to come and read the instructions to ensure that I was about to sew it together correctly, and afterwards I was just mesmerized at how it worked. 

Sewing the sleeves was a bit more stressful as this fabric doesn't have a right or wrong side - they are exactly the same. I sewed one of the sleeve plackets on the wrong side so I had to start again with one side which meant that the shirt took me an extra evening to make. But this was the only real issue that I had with the whole shirt, and I think that this just wouldn't happen if I had used a different fabric, but I have also learnt my lesson for next time! 


alt="Colette Negroni"
Negroni with button-down collar
I used some buttons from an old shirt that Andy had decided to retire after wearing pretty much once a week since we left the UK. I think that they go with the fabric really well. Andy requested a button-down collar, and I think that it looks really good. I'd already made the button loop and sewn it in, but I think that it just looks like an extra little feature. I'd probably leave this out next time and just put in an additional button hole at the top. 


alt="Colette Negroni"
Colette Negroni
All in all, I would say that this project was a success and I will definitely make the shirt again. And Andy is actually wearing it so that is a bonus. It's made me want to make myself a shirt using some of the techniques that I've learnt, and I've already got my eye on this Grainline Studio button up shirt and/or this Pattern Runway Pussy Bow Blouse - just need to keep my out for the perfect fabric. 

These photos were taken today in Vanier Park in Vancouver. It's been a gorgeous crispy Fall day. It has been a bit chilly, which explains the creased shirt as it was under Andy's coat, but lovely and sunny. I love this area of Vancouver as you can see the mountains, sea and city - what more could we need?

Sunday 19 October 2014

Datura Blouse by Deer & Doe

I've decided that I am going to blog about making one thing each week!  I don't blog enough, but I do sew enough, so I thought that this would be a good target to set myself and we will see how it goes...

For my first weekly challenge, I decided to make the Datura Blouse by Deer & Doe. I found this one when I was searching for shirt patterns to make. It's not exactly the shirt pattern that I was looking for but I thought that it looked brilliant when I saw all of the versions around the web. I love that there is so much potential to hack the pattern, and I REALLY like the buttons down the back! 

Here is my version (and me!):
Datura Blouse Deer & Doe
Me & my Datura!


Datura Blouse Deer & Doe
Datura Blouse back with buttons

This was also a brilliant opportunity to use up this lovely Liberty silk which I bought on Etsy. I had originally bought it with a skirt in mind, but I didn't order enough (d'oh) so when I saw this pattern I decided that it was actually a good thing that I had made that mistake! 

Liberty silk twill

I like this version with the Peter Pan collar. It took me two attempts to make it as the first version was a bit bumpy and not particularly round so I wasn't happy with it. 


Datura Blouse Deer & Doe
Datura Blouse with Peter Pan collar

I made this pattern in a size 42 to fit my bust and there is plenty of room. The bottom is flared so there is also plenty of room there! There were a few new techniques to try with this pattern. Although the instructions were clear, there wasn't a lot of detail or many images so I had to read them a good few times to understand exactly what to do, especially with piecing the front and back yolks together. 

I also just stitched the buttons through both back pieces as I knew that I would never unbutton the top and didn't have the energy for button holes. I used bias binding around the bottom hem, as directed, but I'm not sure I would bother with this again. I think you could get just as nice an effect by doing a mini hem (and I am all about the hems since receiving the Colette Patterns guide to hemming). 

I made this at the end of the long Thanksgiving weekend. The day was pretty relaxing as we'd been on a long hike to Garibaldi Lake the day before and my legs were still a bit stiff! 

Garibaldi Lake is stunning, even when it's cloudy. The blue water is so pretty and it was nice to be there on a quiet day just to enjoy it on our own. 

At Garibaldi Lake


Garibaldi Lake

Sunday 15 June 2014

Powelly the Owl


My Big not-so-Snowy Owl

Meet my new pal, Powelly. This is my version of Purl Soho's Big Snowy Owl. I noticed this lovely owl when we were visiting Purl Soho in November 2012. He looked so cuddly and soft, and I couldn't wait to make my own version with the free pattern available on the Purl Bee.

I picked up this gorgeous Goldenrod yellow Cascade Yarn from a lovely sewing shop, Stitches, in Seattle. It was really rainy whilst we were there (pretty typical of the Pacific North West, I have since discovered!) so we went for a look in some craft shops to keep dry and warm. I chose this wool partly because of the name and our proximity to the Cascades, but also because the skein was so big for the price! The lovely ladies in the shop wound the wool up for me so that it was ready to use. 


Cascade Eco+ Yarn in Goldenrod
I love this pattern because it's quite testing at the beginning: it was the first time that I had used double-pointed needles to actually knit in the round. Once you get the past the bottom, it's really quick and I really like the pattern that is created by the purl stitches on the body. 

As I didn't want to invest in lots of different balls of yarn, I decided to knit the eyes in one colour. This made it quite straight forward, although they came out different sizes! I struggled with the instructions for the nose, so kind of just made up my own version. It's not brilliant but as it is the same colour, I don't think it shows too much. 

The buttons and stuffing came from a brilliant organisation that I have been volunteering with: Our Social Fabric. They collect unwanted textiles and notions from all over the Lower Mainland and then sell them at monthly sales, preventing the items going to landfill. 

I've named the owl Powelly because we live just off Powell Street! 

In other non-craft related news, we've been doing lots of exploring in Vancouver with my in-laws and a friend who both visited in May. We've been really lucky with the weather over the last month, so we've been able to spend lots of time outside wondering round. I love being in Stanley Park or at one of the city's beaches. 


Girl in a Wetsuit, Stanley Park
Stanley Park Totem
English Bay Inukshuk
There are so many cool neighbourhoods that it's going to be tricky to decide where to live when we move out of our current place at the end of July. We'll miss the view, especially when the sun is setting like this (no filter I promise)!):


Sunset over the North Shore.


Monday 28 April 2014

Arriving in Canada and my Lovely Purl Soho Cowl

After a crazy last few months living in Leeds, and a brilliant three months travelling around the world the long way, we've arrived in Canada! We've been living in Vancouver for almost a month now and we're feeling quite settled. I've even managed to bag myself a cool job. 

The view from our apartment looking over the harbour and mountains of Vancouver.

I've set myself a new resolution to go along with my new life in a new country: I'm going to try and blog a LOT more than I have so that I can share my makes and general thoughts with friends and family. So here goes...

I've been meaning to blog again my favourite cowl for ages, ever since I knitted it in October in fact. On our amazing trip to New York in November 2012, I made a beeline for Purl Soho, having read about it online. It was one of the best shops that I've ever been to in my life, ever. Their range of fabric and wool is stunning. The colours are so bright and pretty, there is nothing dull about the shop at all. I think we went into the shop three times in six days, and Andy was very patient, and even bought me their 4 Seasons of Embroidery kit as an early Christmas present (I'll talk about that another time!). I immediately fell in love with their first range of wool, the Super Soft Merino, mainly because of the lovely bright colours. I decided to buy fabric instead of wool during our visit, as I couldn't decide whether I thought this wool was expensive or not, and I had some ideas for a patchwork quilt that I wanted to make. 

About six months after we got back from New York, my sister was going through my handbag (nosy parker!) and found $70 that I'd put in my front pocket for safe keeping! My brother was off to New York in the June so I asked him to get me some wool, and some beer from the Brooklyn Brewery for Andy of course! 

I knew I definitely wanted the Super Pink colour, and perhaps the Heirloom White as I already had the cowl project in mind when I was placing my order after seeing the post about the Garter Gaiter. However, they had run out of the white when Rob was there so he bought the Oyster Grey instead. To be honest, I don't think there is much difference between them and I think that it works quite well! 

Wool & directions!
It only took me a few hours to knit up and I love the effect of the stitch - just knit one row, pearl the next. It was a little tricky at the cross over at the end of each row but I managed to make it look almost seamless. 

Close up of the Garter Gaiter stitch.

I also cast off a bit tightly so that it would go in at the top. 

The finished article, tighter at the top than bottom.
The instructions are easy peasy and I would recommend this to anyone who wants to make something similar with any kind of wool, but I especially recommend the Super Soft Merino as it's so so silkily soft (as in the name!). I used most of each skein of yarn, so it's not a really cheap knit, but not bad value because it is such good quality yarn. 

This cowl (or a snood as I keep calling it - not sure which is the correct name!) is so toasty and warm because of the merino and it's also a great fit. It's not too tight so not too sweaty, and if it's really cold I can put another thinner scarf underneath for extra warmth. It was perfect for the freezing cold climes of Japan and South Korea in January. 

Trying out my cowl at Christmas time with my best gal pals.